I. Introduction

A. The Significance of Preserving Your Wedding Bouquet
How to press wedding bouquet?
Your wedding bouquet is a beautiful and cherished symbol of your special day. It is a compilation of carefully chosen blooms that encapsulate the essence of your wedding and represent the love and joy shared on that memorable occasion. Preserving your wedding bouquet through pressing flowers is a wonderful way to retain the essence and beauty of the blooms, allowing you to cherish the memories for years to come. In this guide, we will explore the significance of preserving your wedding bouquet and provide a comprehensive overview of the process of pressing flowers to maintain the beauty of your special blooms.
II. Preparing Your Bouquet for Pressing
A. Selecting the Right Flowers
The first step in creating beautiful pressed flower art is to select the right flowers. Not all flowers are suitable for pressing, so it’s important to choose varieties that are relatively flat and thin, such as daisies, pansies, and ferns. Avoid using flowers with thick, bulky petals, as they may not press well and could result in a less visually appealing end product.
When selecting flowers for pressing, it’s also important to choose blooms that are fresh and in good condition. Flowers that are wilting or have brown spots may not press as nicely, so be sure to pick your blooms at the peak of their freshness.
B. Removing Excess Foliage
Once you’ve selected your flowers, the next step is to remove any excess foliage. This includes any leaves or stems that may be attached to the blooms. Removing excess foliage not only helps the flowers dry more quickly, but it also reduces the risk of mold and mildew forming during the pressing process.
To remove excess foliage, gently trim the stems of each flower, taking care to leave just a small amount of stem attached to the blooms. You can also pluck any leaves that are attached to the stems or blooms themselves. If you’re working with flowers that have a lot of foliage, such as roses or lilies, you may need to carefully deconstruct the blooms to remove the excess greenery.
III. Pressing Techniques

A. Traditional Pressing Method
The traditional method of pressing flowers involves utilizing simple tools and patience to carefully dry and flatten blooms. To begin, select a book with ample weight and absorbent paper such as blotting paper or parchment. Carefully arrange the flowers within the pages of the book, ensuring they are spaced apart and not overlapping. Gently close the book and place additional weight on top to facilitate even pressure and thorough flattening of the blooms.
The traditional pressing method requires patience, as the flowers must be left undisturbed for an extended period to allow for complete drying and flattening. This method typically takes several weeks to yield optimal results, as the flowers gradually lose moisture and retain their color and shape. Take care to store the book in a dry, well-ventilated area, as excessive humidity can impede the drying process and potentially lead to mold formation.
B. Microwave Pressing Method
For those seeking a more expedited approach to pressing flowers, the microwave pressing method offers a swift and efficient alternative. This technique harnesses the power of heat and pressure to rapidly dry and flatten blooms, significantly reducing the pressing time compared to the traditional method.
To employ the microwave pressing method, place the flowers between layers of absorbent paper, such as parchment, and ensure they are evenly spaced to facilitate thorough drying. Next, carefully position the layered flowers within a microwave-safe pressing device or enclosed in microwave-safe storage containers. By subjecting the flowers to controlled bursts of heat and pressure, the microwave pressing method effectively accelerates the drying process, resulting in beautifully preserved blooms in a fraction of the time typically required for traditional pressing.
IV. Drying and Curing
A. Patience and Time
Once your flowers are pressed, the next step is to allow them to dry and cure. This process requires patience and time, as the flowers need to be left undisturbed for several weeks to ensure that they dry thoroughly. It’s important to find a well-ventilated and dry area to store your pressed flowers during this time. Avoid areas that are humid or prone to temperature fluctuations, as this could hinder the drying process.
During the drying and curing process, it’s important to periodically check on your flowers to ensure that they are drying properly and to monitor their progress. Be sure to handle the flowers with care, as they may be fragile during this time. While it can be tempting to check on your flowers frequently, try to resist the urge to disturb them too often, as this can disrupt the drying process.
B. Checking the Progress

As your flowers dry, you may notice changes in their appearance. Over time, the petals and leaves will start to become more delicate and papery in texture, which is a sign that they are drying properly. It’s important to check the progress of your flowers regularly to ensure that they are drying evenly and to address any issues that may arise, such as mold or discoloration.
To check the progress of your pressed flowers, carefully open the flower press or book and gently touch the blooms. If the flowers still feel moist or have a rubbery texture, they may need more time to dry.
V. Creative Uses for Pressed Flowers
A. Framed Artwork
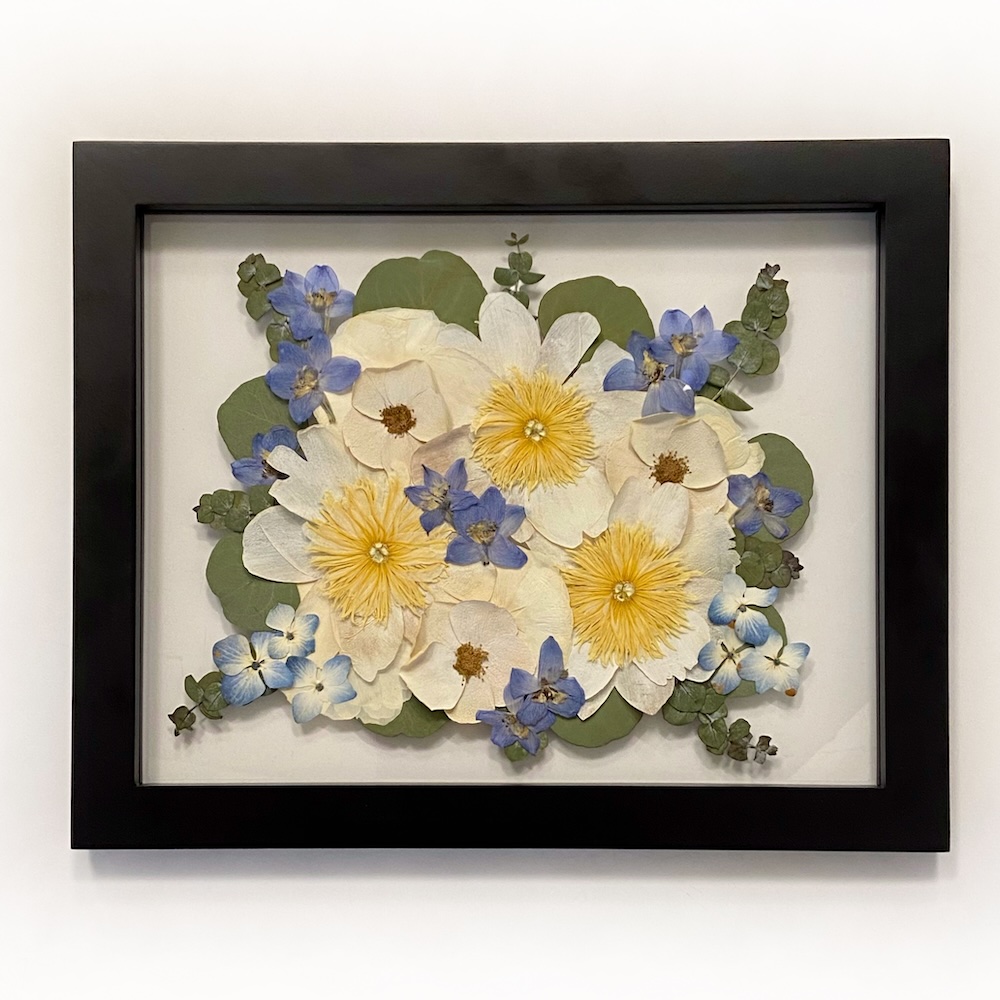
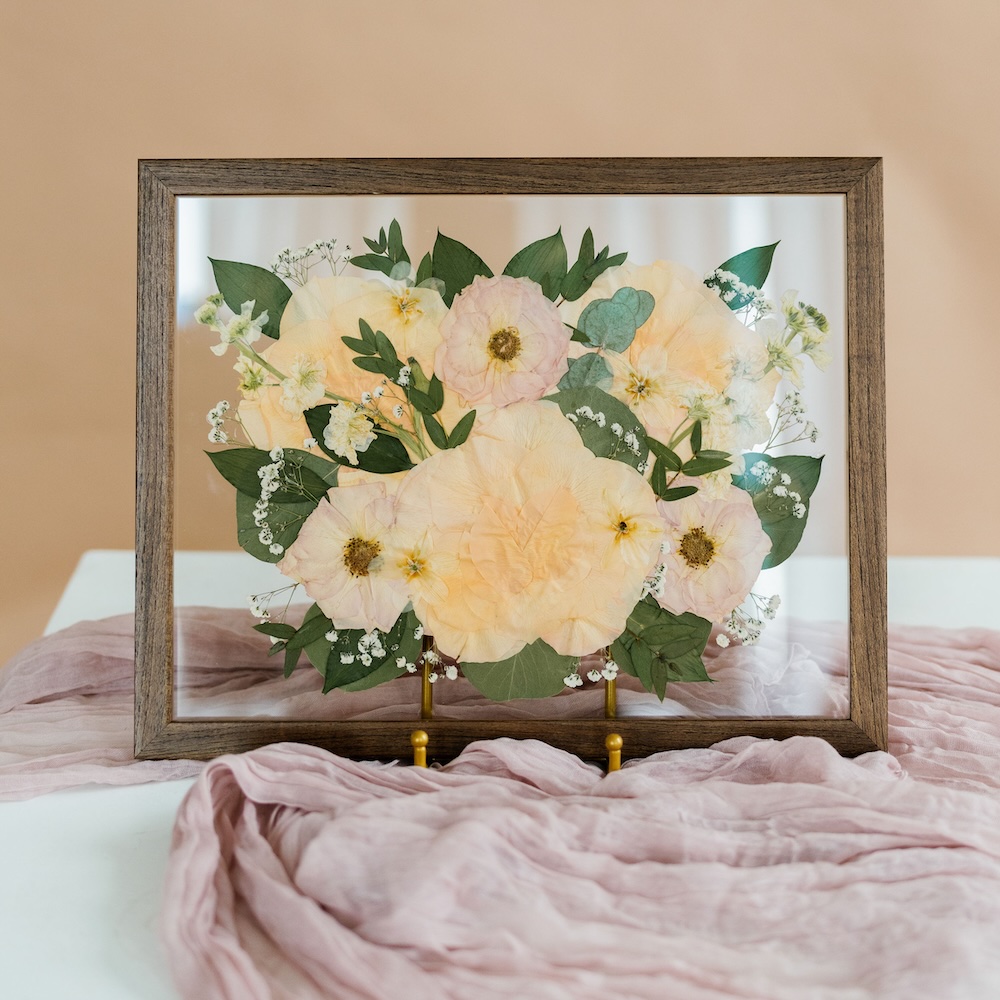
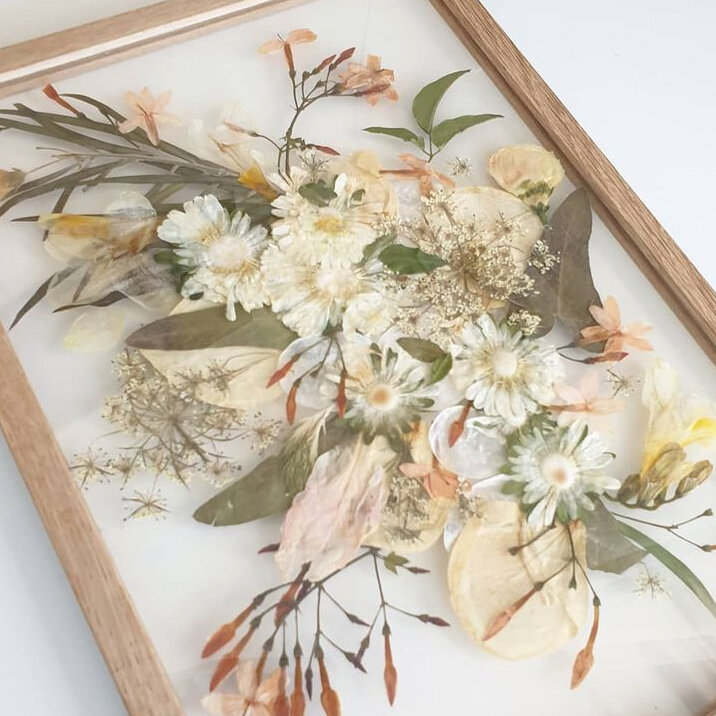
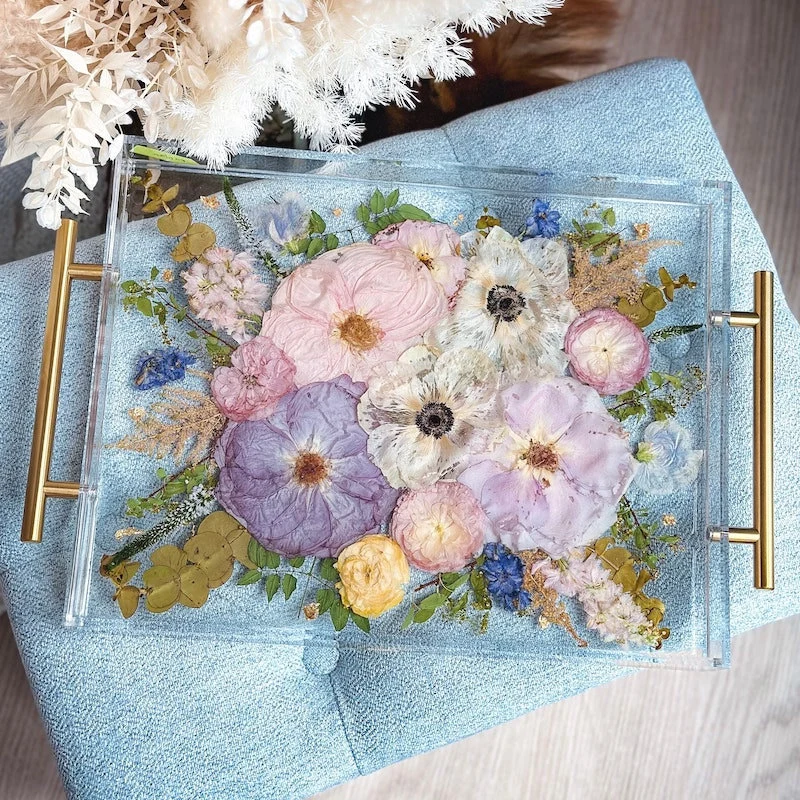
Once your pressed flowers are ready, there are countless ways to use them in creative art projects. One popular option is to create framed artwork using pressed flowers. You can arrange the flowers in a beautiful design and frame them to display as a piece of wall art. There are many techniques you can use to create stunning pressed flower artwork, from simple designs to intricate patterns. You can even incorporate other elements, such as watercolor backgrounds or layered paper, to enhance the visual appeal of your pressed flower art.
To create framed artwork using pressed flowers, you’ll need a shadow box or a picture frame with a deep mat. Arrange the pressed flowers on a piece of acid-free paper or cardstock, using tweezers to carefully position the blooms. You can create a design that mimics a bouquet or arrange the flowers in a freeform pattern. Once you’re happy with the arrangement, carefully place the paper with the pressed flowers into the frame or shadow box and secure it in place.
B. Handmade Stationery
Another creative use for pressed flowers is to make handmade stationery. You can use pressed flowers to embellish greeting cards, notecards, or even handmade paper. The addition of pressed flowers adds a beautiful and natural touch to stationery, making each piece unique and special. Handmade stationery with pressed flowers is perfect for sending heartfelt messages, invitations, or thank you notes.
To make homemade stationery with pressed flowers, start by selecting the paper or cardstock you want to use as the base. You can choose a pre-made card or make your own using a sheet of quality paper folded in half. Arrange the pressed flowers on the card, taking care to position them in a visually appealing way. Secure the pressed flowers to the paper using craft glue or double-sided tape. You can also embellish the stationery with calligraphy, hand-lettering, or additional decorative elements to complement the pressed flowers.
